“iPhone 16 back glass replacement” can restore its look, durability, and wireless charging function. This guide will take you through the step-by-step process to safely replace the cracked back glass with a new one.
Warning: This process involves heat and requires careful handling to avoid damaging internal components. If you’re unsure, consider professional repair services like iTech Service India.
Difficulty: Moderate |
Time Required: 30–60 minutes |
Tools Required: Yes
What You’ll Need
The introduction
The back glass may be replaced to restore the iPhone 16’s robustness, look, and wireless charging features. You will learn how to safely replace the broken rear glass with a new one by following these steps.
Warning: This procedure uses heat and needs to be handled carefully to avoid damaging internal components. For those who are unsure, consider employing professional repair services such as iTech Service India.
Things You’ll Need
Instruments:
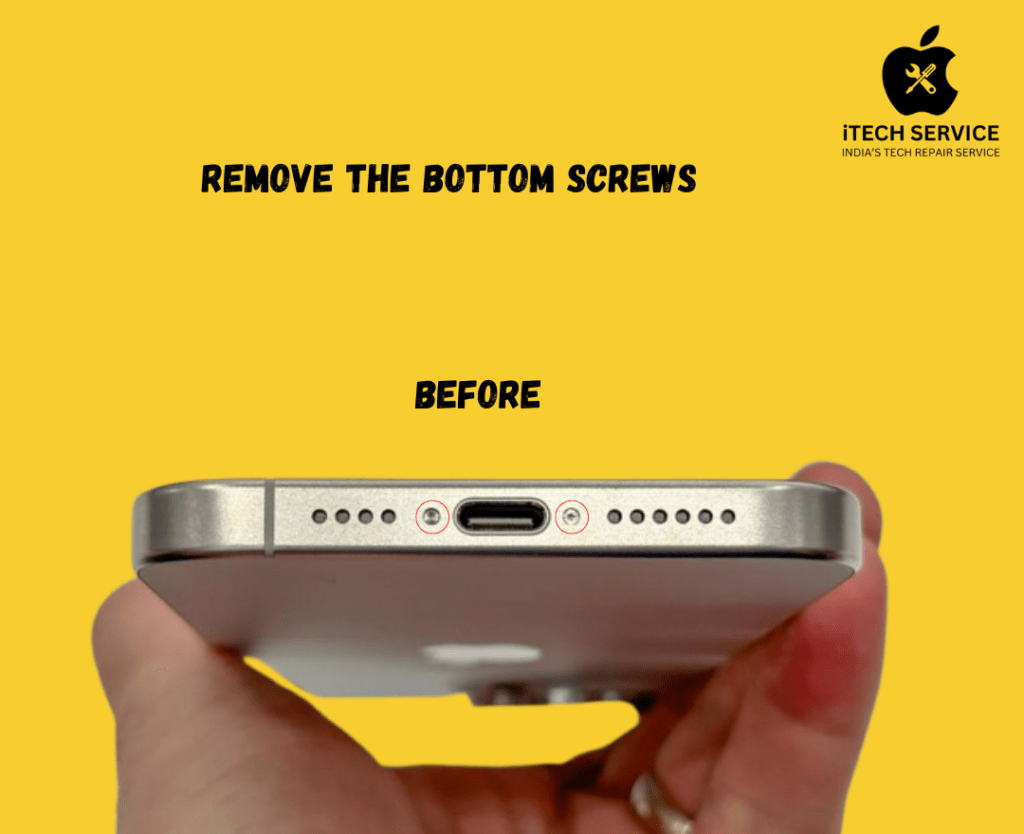
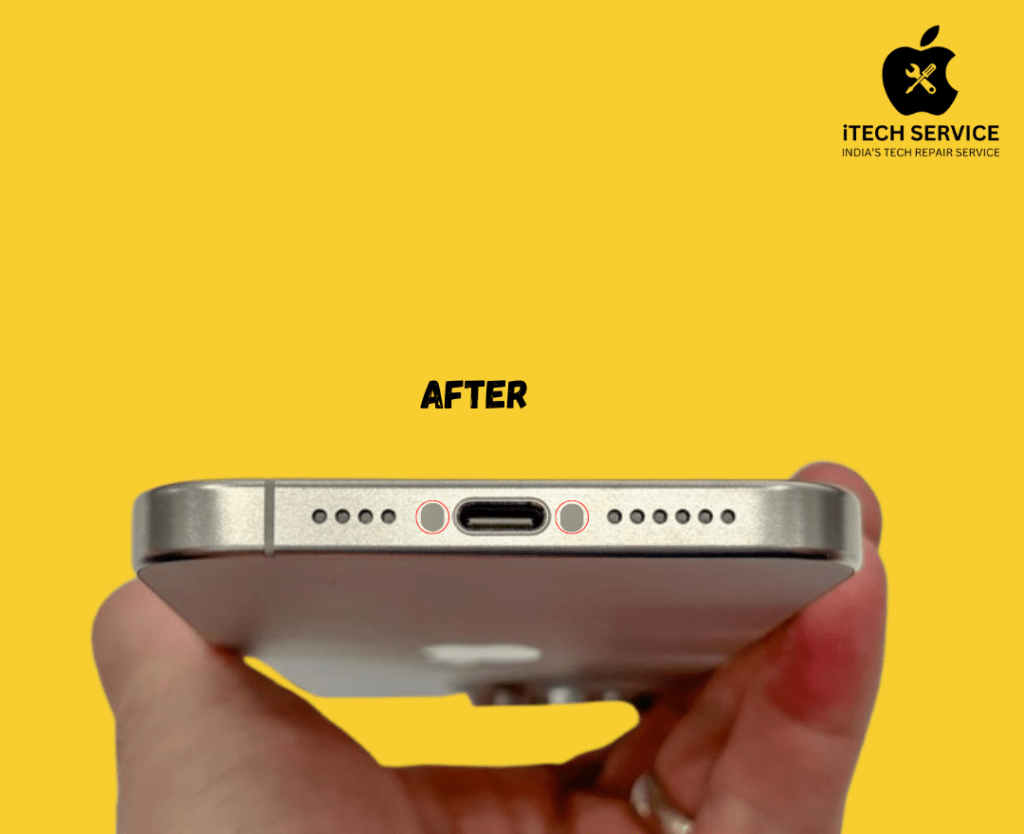
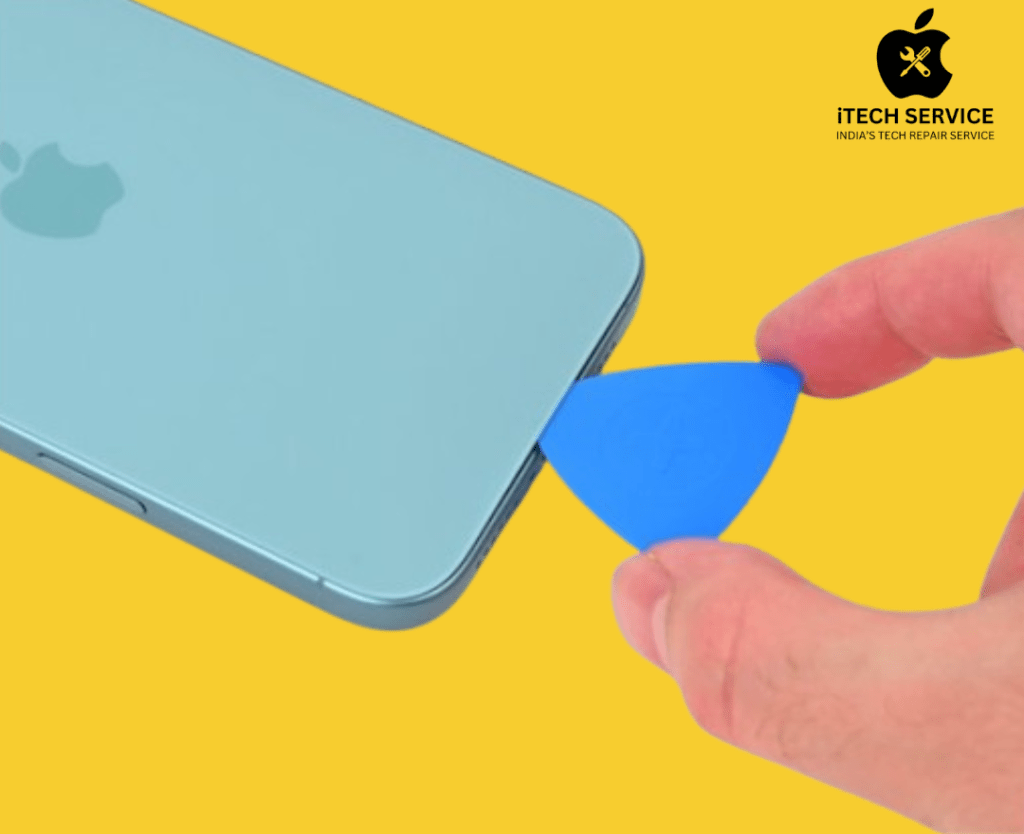
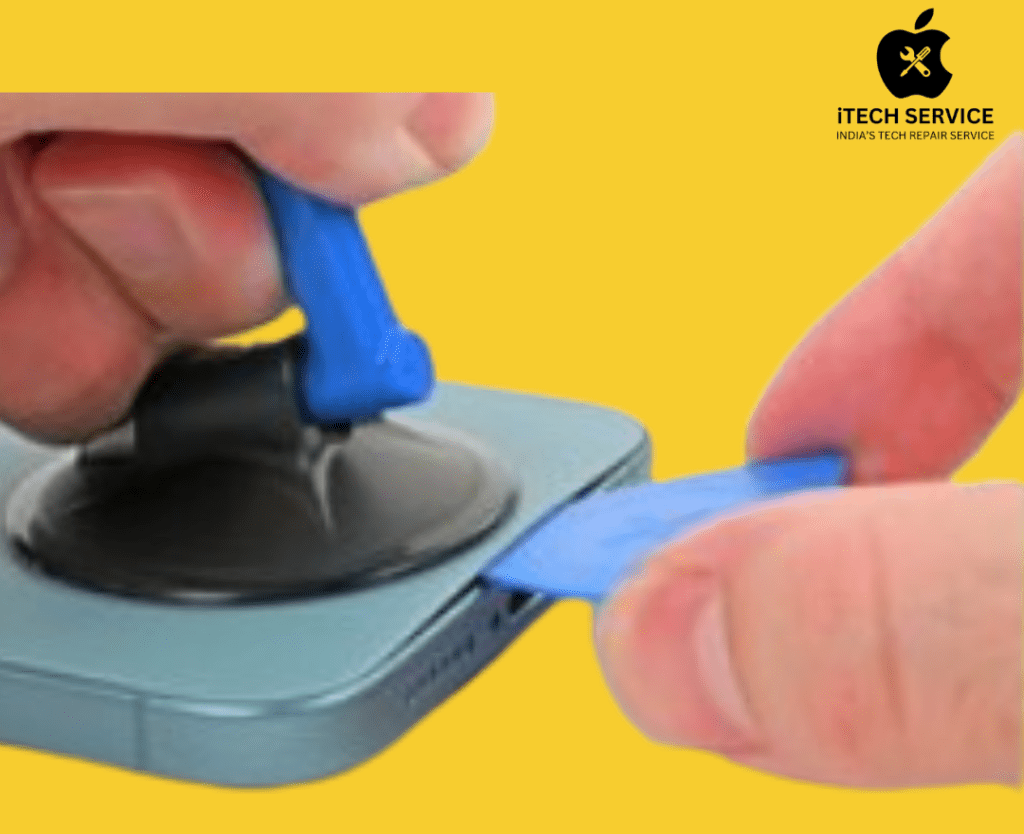
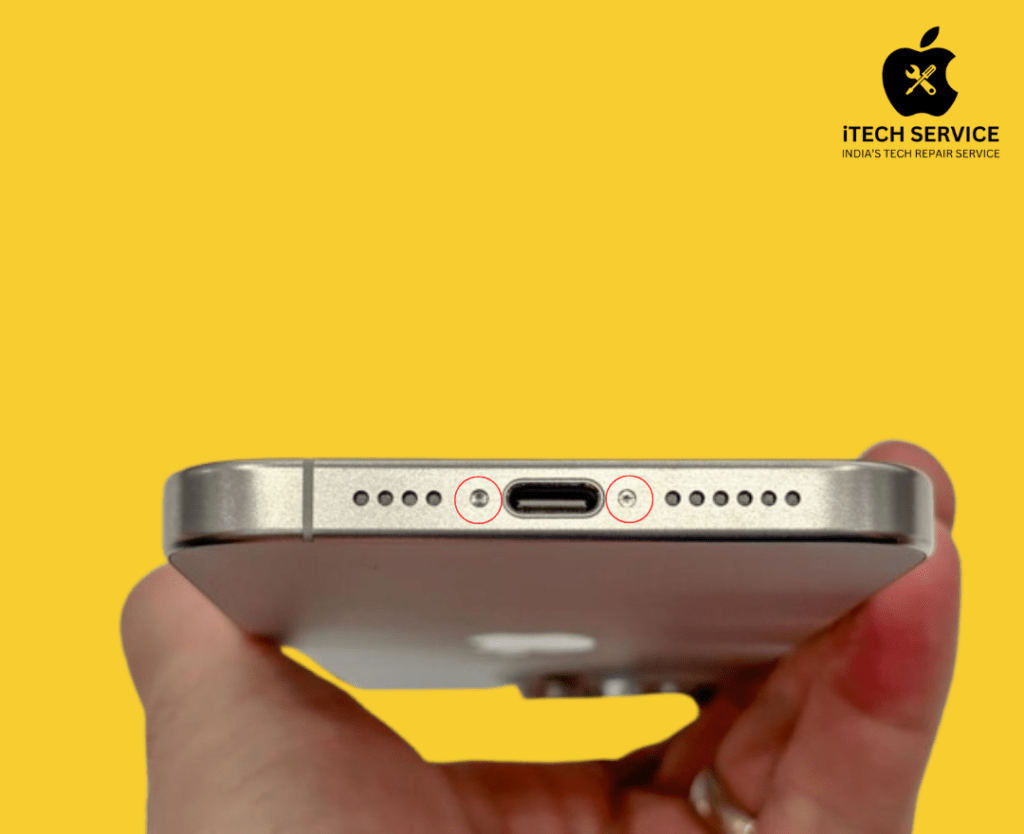
To take out the bottom screws, use a P2 Pentalobe screwdriver. To assist in prying the rear glass, use opening picks.
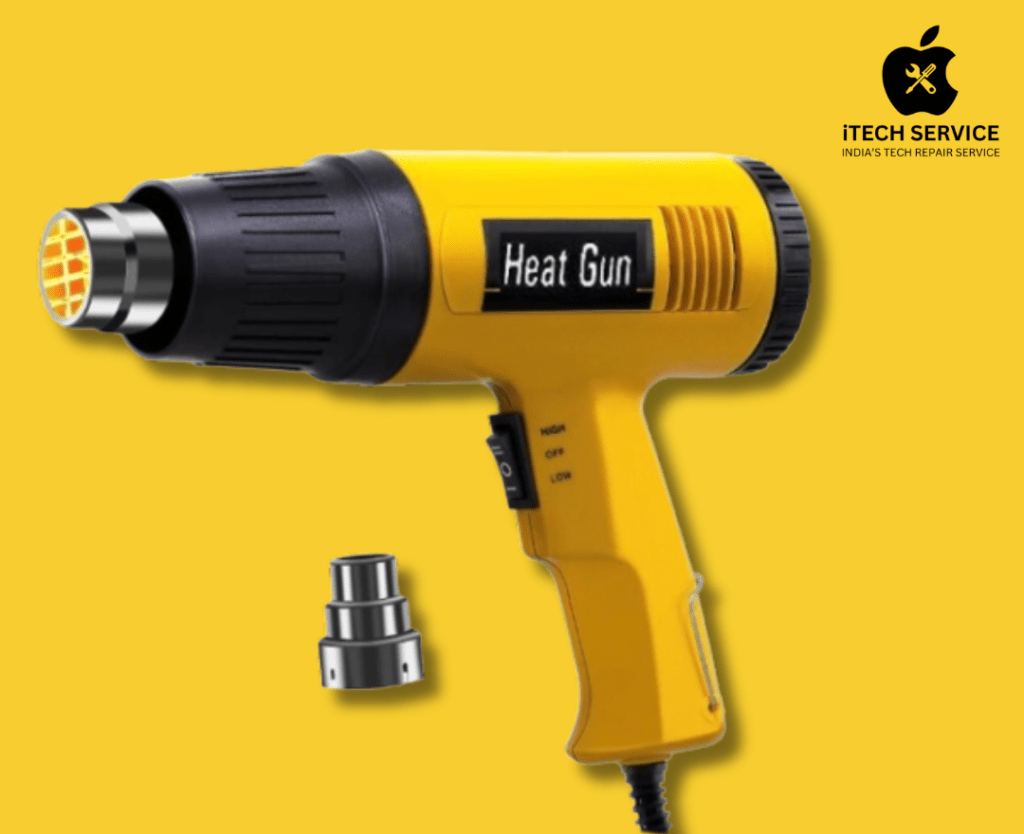
Suction Handle: For lifting the back panel. iOpener/Heat Gun: To loosen the adhesive.
Spudger: For precise separation.
Tweezers: To remove adhesive debris.
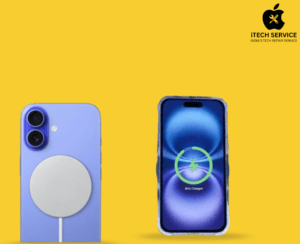
Replacement Parts: iPhone 16 Back Glass (MagSafe-compatible recommended).
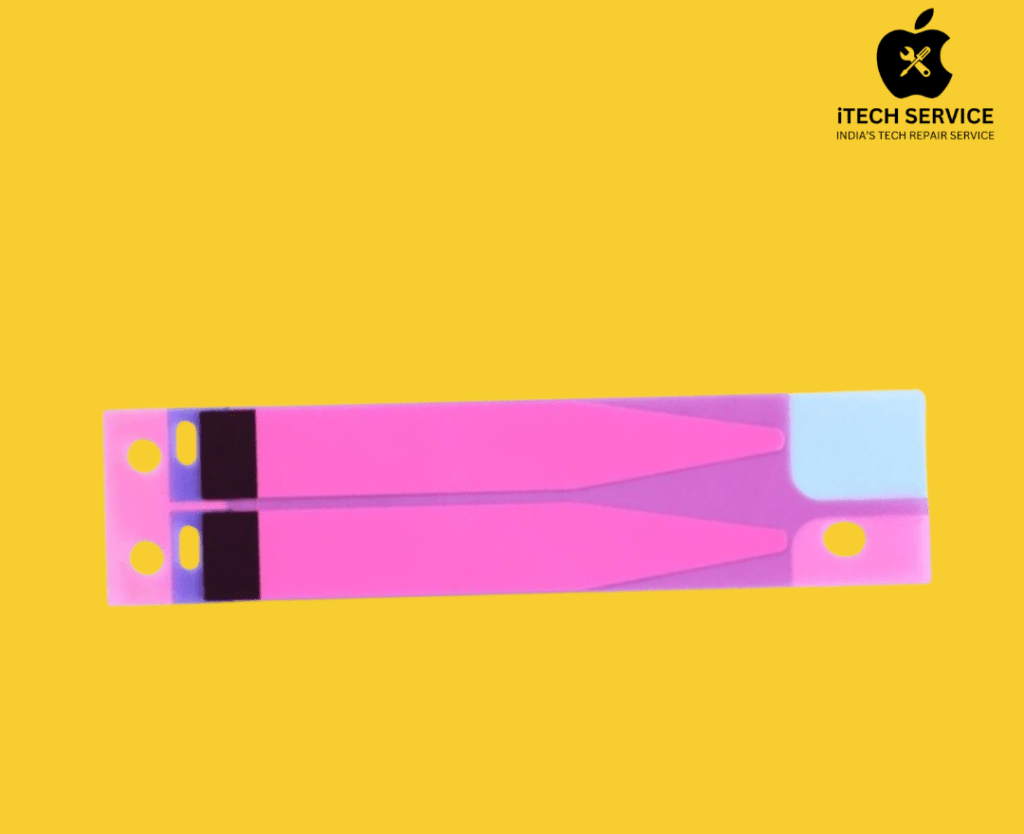
Adhesive Strips: For secure fitting.
Introduction
Go to Step 1
Follow these instructions to replace your iPhone 16’s damaged or broken back glass.
To finish this repair, you’ll need new back glass glue.
Use Repair Assistant to adjust genuine Apple backglasses after your repair. Repair Assistant.
Step 1:
Prepare Your iPhone
Δ Let your phone’s battery drop below 25% because a fully charged lithium-ion battery can be a safety risk.
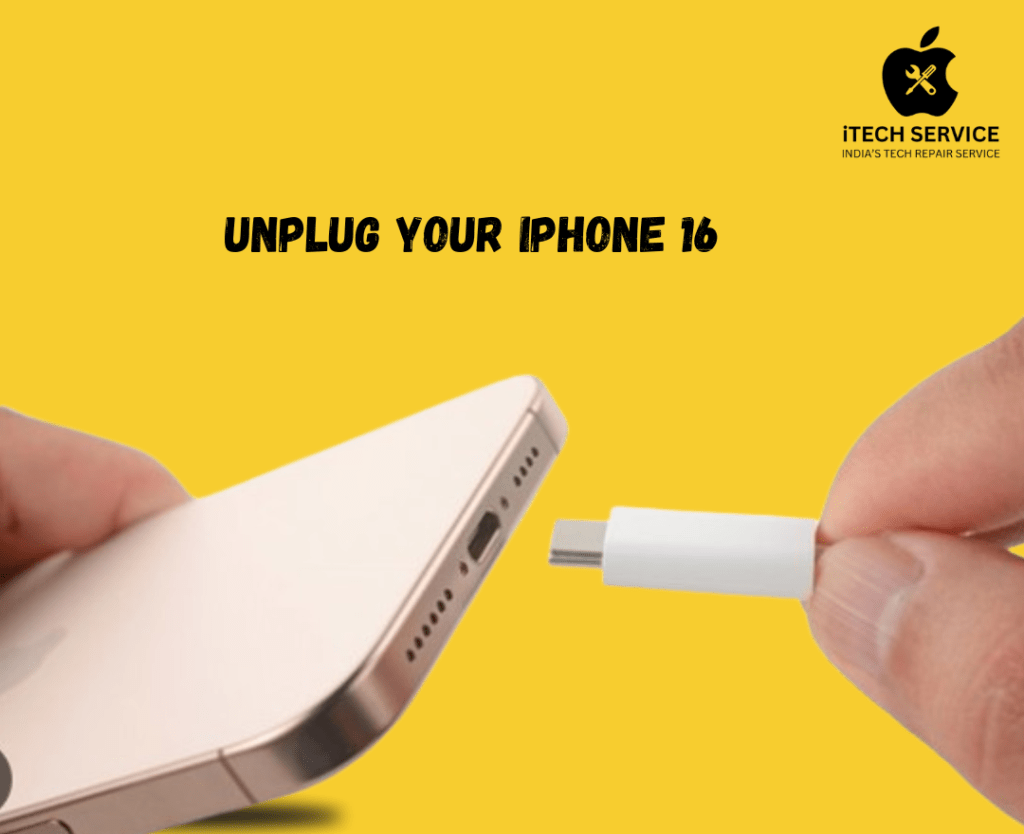
Remove any cables from your iPhone.
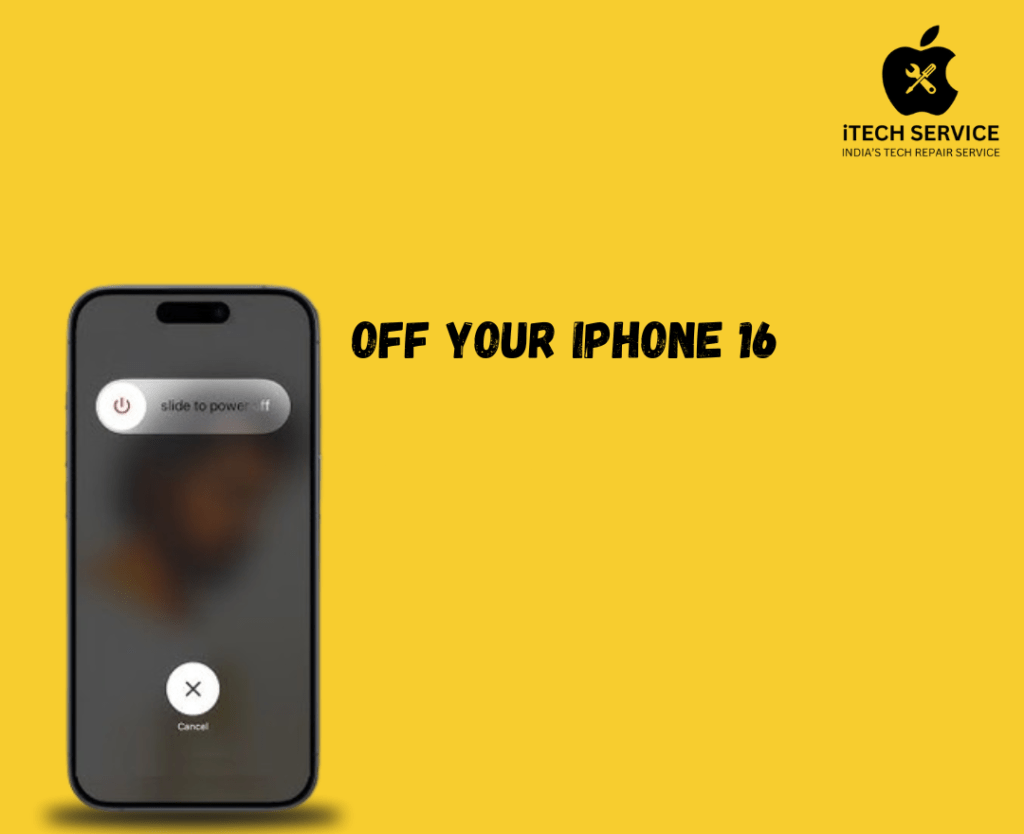
Press and hold the power and volume buttons, then slide to turn off your iPhone.
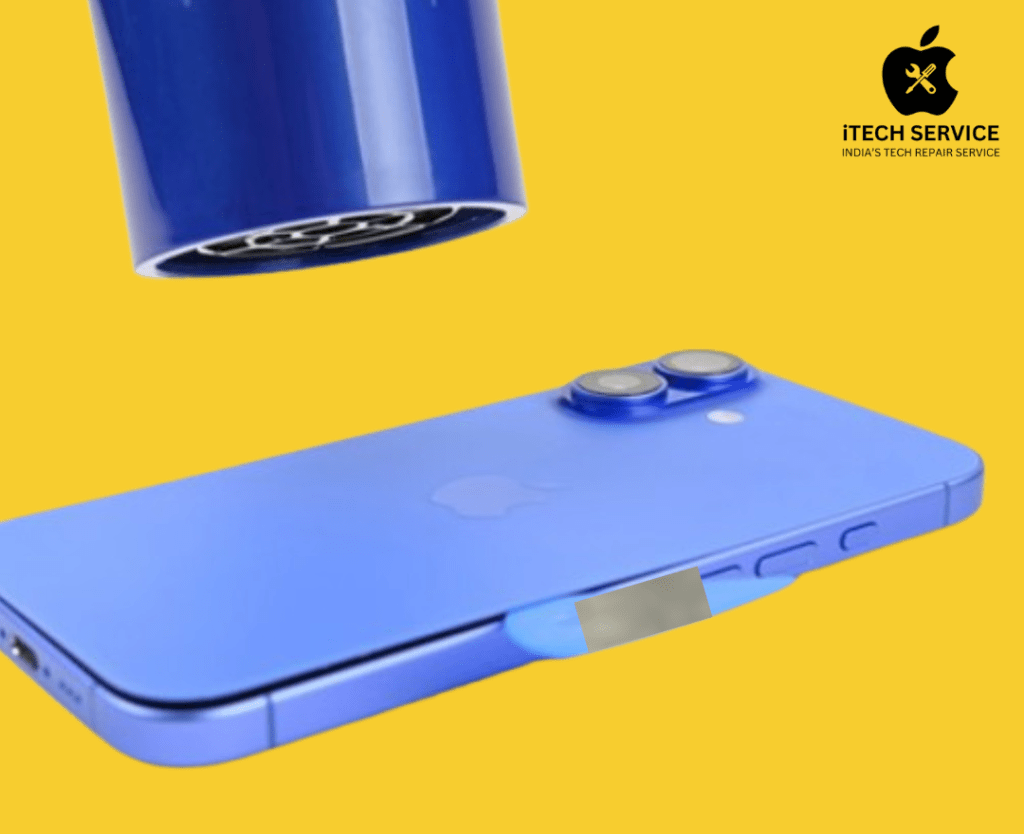
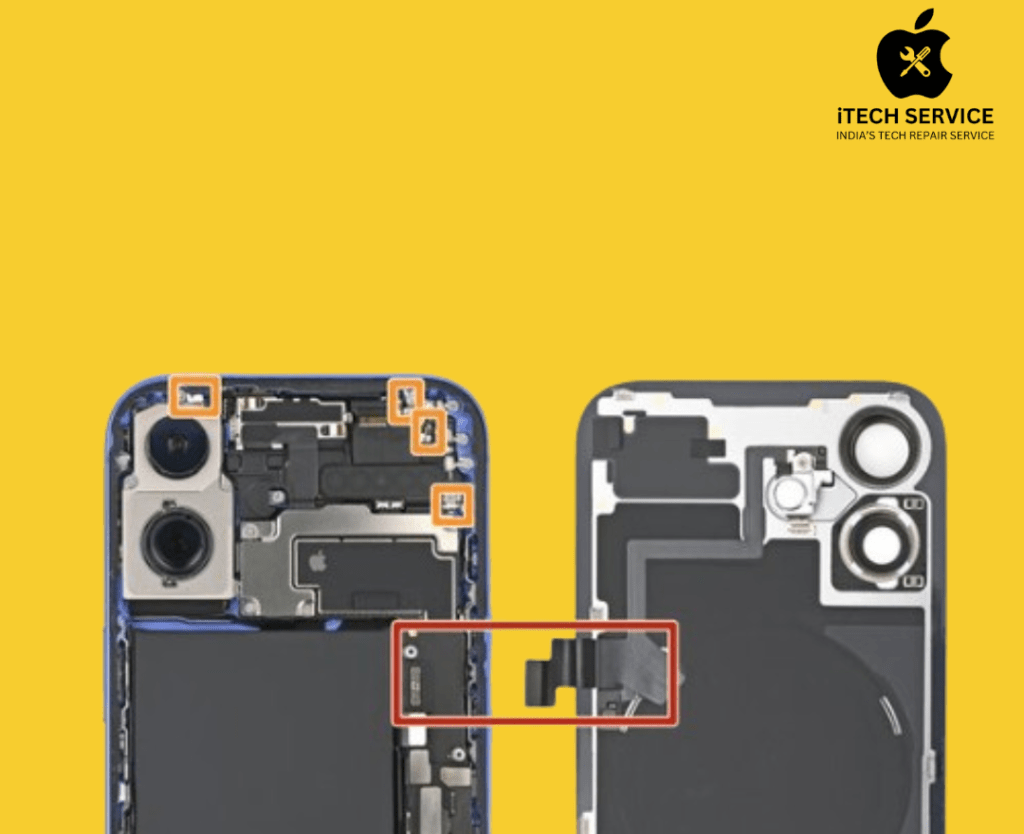
Make sure the replacement back glass fits precisely along the sides of the iPhone 16 frame by carefully aligning it with it. Apply uniform pressure to the entire surface while gently pressing it down. This ensures a solid, polished surface by minimizing gaps and strengthening the adhesive’s bond.
Align the replacement back glass carefully with the frame.
Replacing the iPhone 16 back glass at home is possible but requires precision. If you’re unsure, it’s best to get it done by professionals to avoid damaging your device.
📌 Need an expert repair? Visit iTech Service India for fast and reliable back glass replacements.
Yes, but it’s tricky. The glass is glued on tightly, so you’ll need the right tools and patience. If you’re not confident, getting professional help is a safer option.
It usually takes “30 to 60 minutes” if you know what you’re doing. If it’s your first time, it might take longer, especially when cleaning the old adhesive.